










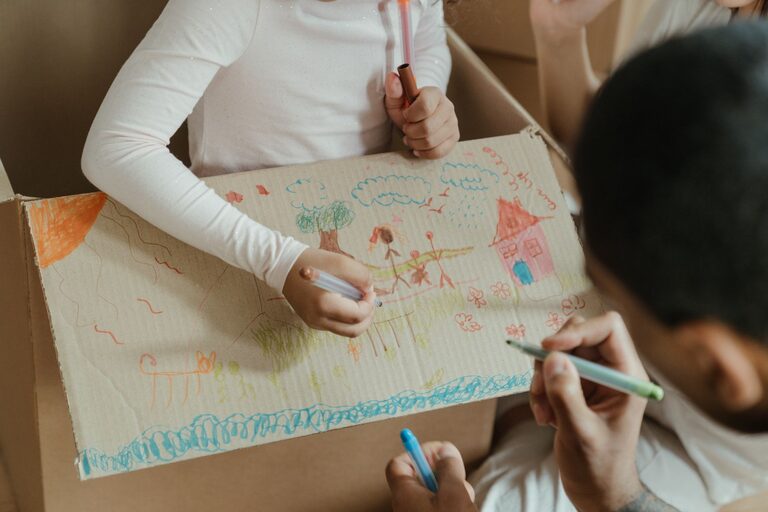
Children’s artwork is a wonderful expression of their creativity and imagination. From colorful drawings to 3D crafts, these pieces tell stories about their growth and interests. However, as the collection grows, it can quickly become overwhelming and clutter your home. Keeping kids’ art organized not only helps preserve precious memories but also encourages your child’s creativity by showing that their work is valued.
In this post, we’ll explore practical, easy-to-follow tips for organizing your child’s artwork. Whether you want to store, display, or digitize their creations, read on for ideas that suit any home.
Why Organize Kids’ Artwork?
Before diving into tips, it’s helpful to understand the benefits of keeping art organized:
– Treasure memories: Art reflects different stages of your child’s development.
– Reduce clutter: Prevent piles of papers and crafts from piling up.
– Encourage creativity: Displaying art motivates children and builds pride.
– Easy access: Quickly find specific pieces when you want to share or reuse them.
Keeping art organized combines sentimental value with practical home management.
Create a Dedicated Art Space
Having a specific spot in your home for kids’ artwork can make a big difference.
– Art Box or Bin: Use a large container or plastic bin to store drawings, paintings, and small crafts.
– Filing System: A filing cabinet or accordion folder with labeled tabs (by age, year, or theme) helps sort papers neatly.
– Shelves or Cubbies: For oversized or 3D projects, sturdy shelves keep items visible and safe.
Encourage kids to place their finished work in the designated area. This habit reduces mess and makes sorting easier later.
Use Display Options to Celebrate Art
Showing off your child’s creations makes them feel proud and can also enhance your home decor.
Wall Galleries
– Hang a string or wire and use clothespins to clip artwork. It’s easy to swap pieces frequently.
– Frame select drawings and create a rotating gallery on a wall.
– Use corkboards or magnetic boards for flexible display options.
Digital Frames
For a tech-friendly approach, scan or photograph artwork and upload images to a digital photo frame. This way, dozens of pieces cycle through a slideshow.
Digitize Art for Long-Term Storage
Paper takes up physical space and can get damaged over time. Digitizing artwork offers a compact, durable solution.
– Scan or photograph: Use a scanner or smartphone camera to create digital copies.
– Organize files: Create folders by child, year, or type of art on your computer or cloud storage.
– Create photo books: Compile favorite pieces into printed books that are easy to share and store.
Digitizing also makes it easy to send artwork to relatives or use images for personalized gifts.
Rotate and Refresh the Collection
It’s not necessary to keep every single piece forever.
– Regular sorting: Set a routine (monthly or quarterly) to review the collection with your child.
– Keep favorites: Select special pieces to save long term.
– Repurpose or recycle: Use older drawings as wrapping paper, greeting cards, or crafts.
– Share with others: Give art to grandparents or friends who will appreciate it.
This approach keeps your collection manageable and meaningful.
Label and Date Artwork
Adding a label with the child’s name, date, and a note about the piece (such as the event or inspiration) adds context and helps you remember special moments.
– Use sticky notes, write on the back, or add a small tag.
– This is especially helpful when digitizing to keep track of details.
Utilize Creative Storage Ideas
In addition to traditional bins and folders, here are some creative ways to store and organize kids’ art:
– Portfolios: Large, flat art portfolios keep papers wrinkle-free. They come with handles, so kids can easily carry them.
– Binders with Plastic Sleeves: Insert artwork into clear sleeves inside a binder. This works well for pages and smaller crafts.
– Art Clipboards: Hang several clipboards on a wall; swap artwork in and out for display and storage.
– Rolling Carts: Multi-tier carts can hold art supplies and finished projects. Easy to move around the house!
Involve Your Child in the Process
Let your child help organize their artwork. It teaches responsibility, decision-making, and pride in their creations.
– Schedule time to sort and display art together.
– Ask which pieces they want to keep, gift, or recycle.
– Encourage them to decorate storage containers or make labels.
Making organization fun and creative helps kids form good habits early on.
Final Thoughts
Organizing kids’ art doesn’t have to be stressful or complicated. With a few simple strategies, you can keep cherished creations safe, reduce clutter, and celebrate your child’s artistic journey. Whether you choose to display, digitize, or store pieces away neatly, the key is to find methods that fit your family’s lifestyle and preferences.
Try some of these tips today and watch both your child’s creativity and your home organization flourish!